Before investing in production tooling, you need evidence that your part will fit, function and perform as intended. The right prototype method depends on what you need to learn.
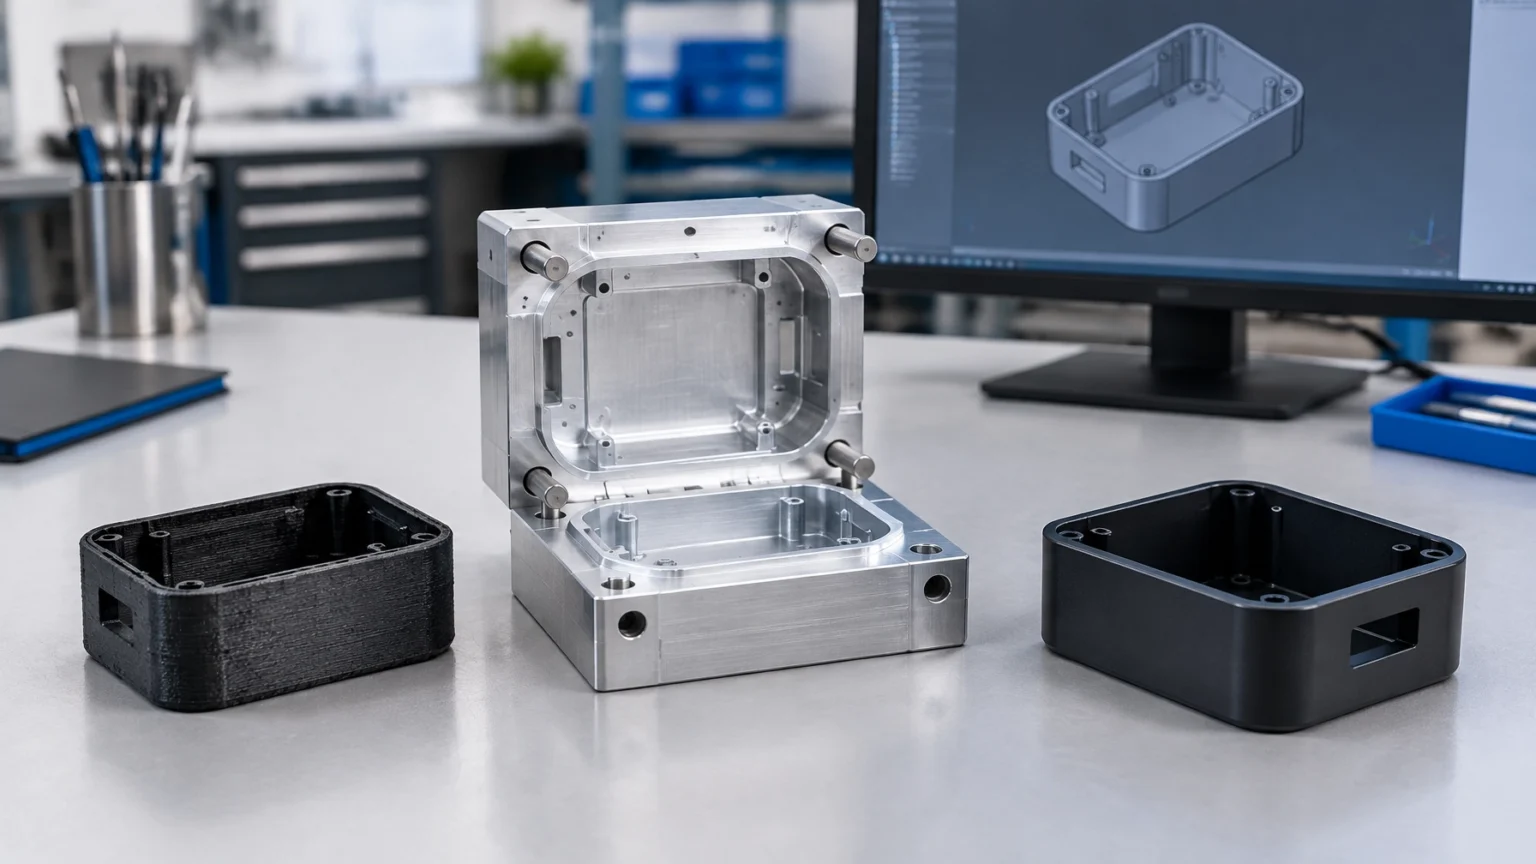
3D printing is usually the faster, lower-commitment way to check a design. Injection molding prototyping is the better way to assess how a part behaves when made with a production-like process and material.
Many projects benefit from both. This guide compares the options, explains how cost and lead time affect the decision, and outlines a practical path from early concept to production.
What is the difference between the processes?
3D printing, or additive manufacturing, builds a part from a digital file by adding material in layers. It requires no mold, so designers can revise the CAD model and make another iteration without rebuilding tooling. Depending on the technology, parts may be produced by depositing melted filament, curing liquid resin, or fusing polymer powder.
Injection molding melts plastic resin and injects it into a shaped cavity. The material cools, the mold opens, and the part is ejected. For a molded prototype, the cavity is typically made in aluminum or other
soft prototype tooling rather than a long-life production mold. This approach requires an upfront tooling investment, but the resulting samples are molded parts, not prints made to look like molded parts.
The difference matters. A printed part can answer questions about geometry. A molded prototype can also help answer questions about the material and manufacturing process.
When 3D printing is the better choice
3D printing is a strong fit when you need a small number of parts quickly or expect to make several design changes. It is especially useful for:
- Early design iteration: Check proportions, ergonomics, clearances and component layout before committing to tooling.
- Form and fit checks: Assemble a part with neighboring components, confirm access to fasteners or test how it sits in a package.
- Very low quantities: For a handful of samples, avoiding a mold can make printing the more economical choice.
- Complex geometry: Internal channels, intricate lattice structures or other features that are impractical or impossible to mold may be achievable with additive manufacturing.

A major advantage is speed of revision: a CAD change can move directly to another build. But 3D printing is not a universal substitute for molding. Surface texture, build orientation, porosity, layer bonding and post-processing can all affect the finished part. The print material may also differ from the resin intended for production.
That means a printed sample can be a useful
design proxy without being a reliable stand-in for the final part’s strength, appearance or long-term performance.
When injection molding prototyping is worth the tooling
Choose molded prototypes when a decision depends on how the part performs as a molded component. A prototype tool can produce samples in the
actual production-grade resin, subject to the tool and process being suitable for that material.
This matters for testing:
- Mechanical performance: Snap fits, clips, living hinges, load-bearing areas and repeated assembly.
- Material behavior: Heat, chemical, impact or moisture exposure, when the intended resin is used.
- Molded appearance: Surface texture, color and cosmetic requirements that a print may not reproduce.
- Manufacturing feasibility: Fill, cooling, shrinkage, warpage, ejection and other process effects.
- Pilot quantities: A prototype tool can make a run of consistent samples for assembly trials, customer evaluation or field testing.
A molded prototype can also reveal issues that a printed part may miss. Resin flow and cooling can affect dimensions and cause features such as sink marks or weld lines. A prototype mold provides an opportunity to assess these effects and refine the design or process before production tooling is finalized.

Prototype tooling does have limits. An aluminum or soft tool may not match the life, temperature control or production behavior of hardened steel tooling. It also adds upfront cost and lead time. And while a molded sample is closer to the production process, it does not automatically prove that a production mold will meet every performance or quality target.
Cost and lead time: compare the whole project
There is no universal quantity at which molding becomes cheaper than printing. The crossover depends on part size, complexity, material, finishing, tooling design, number of cavities and required quantity.
With printing, costs are generally tied to the parts themselves, including build time, material and any support removal or finishing. Molding adds
tooling and engineering costs up front, then spreads those costs across the parts produced.
A useful comparison is:
Estimated molded cost per part = (tooling + engineering + setup and validation) ÷ quantity + molding and finishing cost per part
Compare that figure with the full cost of printed parts, including finishing and inspection. For a few samples, printing often avoids an unnecessary tooling commitment. At modest volumes, molded parts may become more economical per part, particularly if the tool is relatively simple. For larger quantities, injection molding often benefits from repeatable cycles and lower per-part cost.
Treat online cost comparisons as examples, not project estimates.
Protolabs’ comparison and
Formlabs’ low-volume molding guide explain some of the factors that influence the trade-off.
Lead time follows a similar pattern.
A first printed sample is often the quickest route because it does not require mold fabrication. A prototype mold takes additional design, machining and sampling time. The schedule depends on part complexity, design readiness, tool requirements and supplier capacity. If the design is still changing, early prints can help prevent tooling delays caused by avoidable revisions.
A practical framework for choosing your prototype
Start by writing down the question the prototype must answer. Then use these factors to select the process:
- Design stage: If the shape or interfaces are still changing, print first. If key geometry is stable, consider molded prototypes.
- Quantity: For just a few samples, printing may be the economical option. For a larger pilot run, compare the full cost of prototype tooling and parts against the cost of printing every unit.
- Testing requirements: Use a molded sample when testing depends on the intended resin, molded surface or process behavior. A print alone cannot confirm those factors.
- Budget: Include the cost of a late design change. Low-cost prints can help resolve design questions before tooling begins; tooling becomes more valuable when it will answer questions that prints cannot.
- Timeline: Printing may help you get initial parts sooner. Factor in time for tool construction and sample evaluation before committing to a launch date.
If a test involves safety, regulatory compliance or a demanding application, define the test requirements with the relevant technical and quality teams. A prototype route should support those requirements; it should not be treated as a substitute for formal qualification.
For additional context on differences between printed and molded polymers, see this
peer-reviewed study of manufacturing method and PLA properties. Its findings concern specific materials and test conditions, so they should not be generalized to every resin or printing process.
The hybrid path: print, validate, then tool for production
For many plastic product development projects, the most practical sequence is:
Print for early iterations → Mold prototypes for validation → Build production tooling for launch
First, use 3D-printed parts to check form, fit, ergonomics and interfaces. Next, review the design for moldability and use aluminum or soft prototype tooling to produce samples for tests that require actual resin or molded surfaces. Once those results support the design, proceed to production tooling.

This staged approach helps keep early design changes relatively simple while reserving tooling investment for the questions that require molded parts. Before moving to production tooling, confirm that critical geometry is stable, the material is selected, the required tests are defined and the expected volume supports the investment.
Choose the process that answers the next question
Use 3D printing to learn quickly about a design. Use injection molding prototyping when you need to validate material, appearance or process behavior. Neither method answers every question, and a printed part should not be assumed to match a molded part’s strength or finish.
When you are ready to plan the next stage,
Delaney Manufacturing Services offers in-house CAD, 3D printing, prototyping and custom injection molding capabilities to support product development from concept through production.
|
| Images for illustrative purposes. |