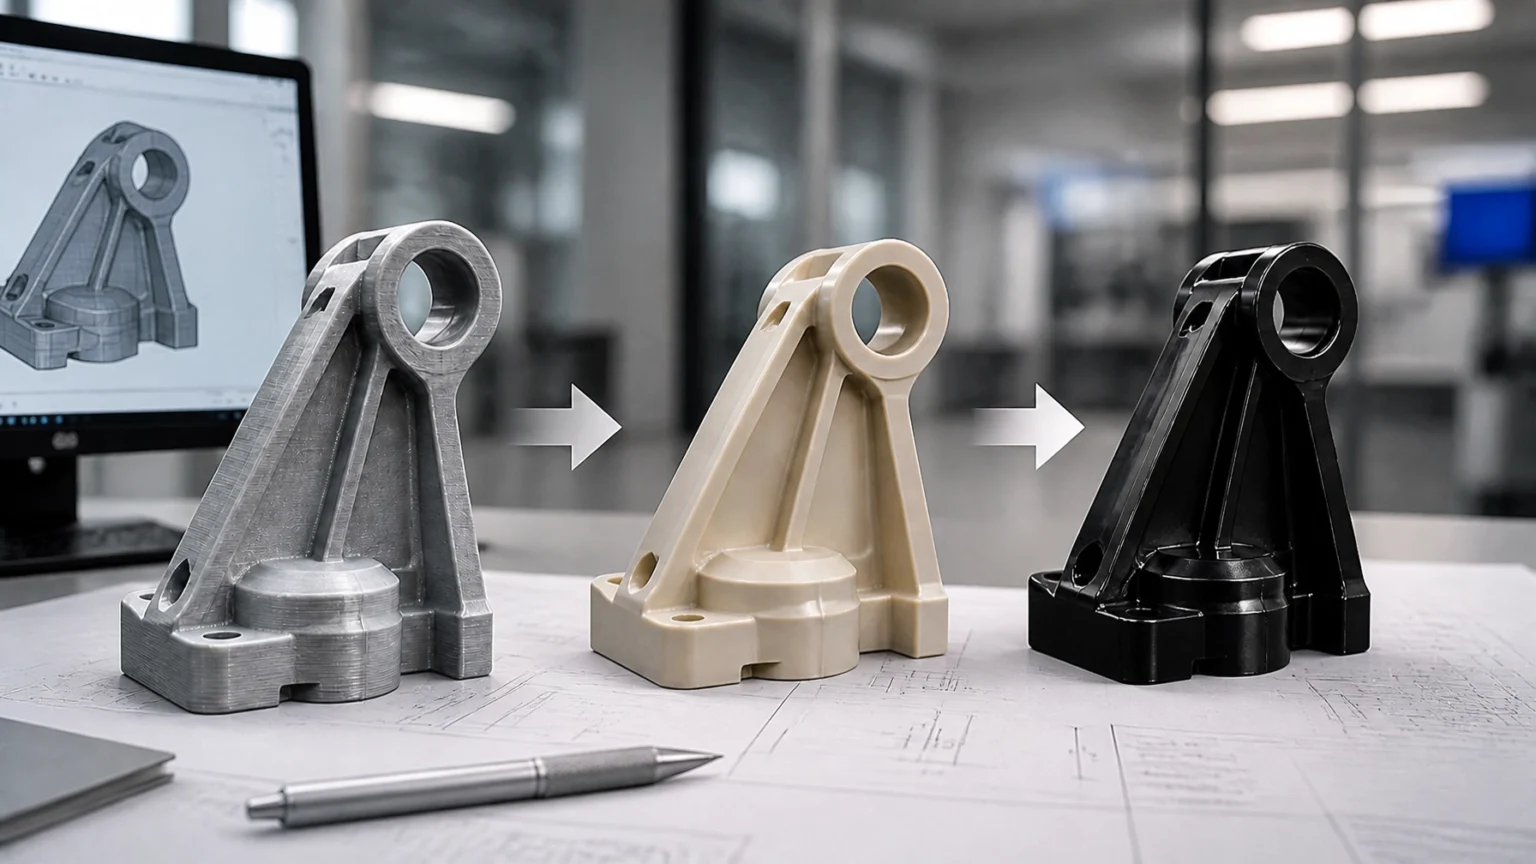
In the world of product development, the transition from a “napkin sketch” to a retail-ready plastic component is rarely a straight line. Prototyping is the most critical phase of this journey. It is where design flaws are exposed, material choices are validated, and the economic viability of a project is truly tested.
Choosing the wrong prototyping method is not just a minor setback; it can lead to thousands of dollars in wasted tooling costs or, worse, a product that fails in the hands of the end user. At
Delaney Manufacturing Services, we leverage over
50 years of experience and deep
Design for Manufacturing (DFM) expertise to guide our clients through this selection process. Whether you are an entrepreneur with a new concept or an established manufacturer re-engineering a complex component, understanding the nuances between 3D printing and bridge tooling is essential.
The Iterative Starting Point: 3D Printing
3D printing, or additive manufacturing, has revolutionized the early stages of product development. By building parts layer-by-layer directly from a CAD file, it eliminates the need for expensive molds or complex tool paths.
When to Use 3D Printing
3D printing is the “Speed King.” It is best suited for the
concept and design exploration phase. If you need to physically hold a part to test its ergonomics, check how it fits into an assembly, or present a visual model to stakeholders, 3D printing is the most cost-effective path.
 Key Advantages:
- Rapid Turnaround: Parts can often be produced within 24 to 48 hours.
- Low Cost: There is zero upfront tooling investment.
- Design Freedom: It can produce complex geometries that might be impossible to machine or mold.
The Delaney Perspective: While 3D printing is excellent for aesthetics, we always remind clients that 3D-printed parts do not behave like injection-molded parts. The layer-based structure creates “anisotropy,” meaning the part is weaker in one direction than another. If your goal is functional testing, process validation, or long-term durability assessment, the next step is usually bridge tooling.
Validating the Process: Bridge Tooling and Rapid Injection Molding
Bridge tooling involves creating “soft” molds: typically made from high-strength aluminum or pre-hardened steel: to produce parts using the actual injection molding process. This is the “final exam” for your product design.
When to Use Bridge Tooling
This method is used when you need
hundreds or thousands of parts that are identical to what will come off the high-volume production line. It is the only way to truly validate the
Design for Manufacturing (DFM) aspects of your project, such as gate locations, knit lines, and cooling rates.
 Key Advantages:
- Process Validation: You verify that the part can be molded efficiently without defects like sink marks or warping.
- Pilot Runs: Ideal for market testing or initial product launches where volumes do not yet justify a $50,000 multi-cavity steel tool.
- Cost Efficiency at Volume: Once the bridge tool is made, the per-part cost drops significantly compared to repeated prototype builds.
The “Expert Eye”: Spotting Issues Early
What sets
Delaney Manufacturing Services apart is not just the prototyping methods we offer, but the
half-century of expertise and
DFM insight we bring to every project. Many prototyping shops will simply “print what you send.” We do more than that.
When a client brings us a CAD file, our team performs a rigorous review. Because we handle the entire lifecycle: from the first 3D print to the final assembly and fulfillment: we look for potential manufacturing hurdles that other shops might miss. We ask the critical questions:
- Does this part have enough draft to eject from a mold?
- Are the wall thicknesses uniform to prevent warping?
- Can this geometry be simplified to reduce tooling costs?

By identifying these issues during the prototyping phase, we save our clients from the “tooling trap”: investing in a production mold only to find out the part is unmanufacturable.
The Prototyping Decision Matrix
To help you choose the right path, consider this quick reference guide based on your project goals:
| Feature |
3D Printing |
Bridge Tooling |
| Primary Goal |
Visual Concept / Fit |
Process Validation |
| Quantity |
1 – 10 parts |
100 – 5,000+ parts |
| Lead Time |
1 – 3 Days |
2 – 4 Weeks |
| Material Choice |
Limited Resins |
Real Production Plastic |
| Tolerance |
Moderate |
High |
| Initial Cost |
Very Low |
High (Tooling Fee) |
End-to-End Support from Concept to Customer
At Delaney, we do not just provide parts; we provide solutions. Our facility is designed to handle the
full product lifecycle. Once your prototype is validated, we move seamlessly into
injection molding production.
Our
mold production and management services ensure that your tooling is maintained for the long haul. Furthermore, our in-house
assembly and fulfillment capabilities mean that we can package and ship your finished product directly to your customers.

Whether you are looking for a single 3D print or a high-volume production partner, our commitment remains the same: high quality, no minimums, and a
same-day response to your inquiries.
Take the Next Step
Ready to bring your product to life? Don’t let your project stall in the development phase. Reach out to the experts at
Delaney Manufacturing Services today. We’ll help you navigate the prototyping landscape and ensure your product is built for success from day one.
|
| Images for illustrative purposes. |